WordPress sites are safe – as long as you keep them updated. The number one reason websites get hacked is due to not making the necessary updates. But updates are not risk-free. Sometimes an update causes a conflict between themes and plugins, causing part of your website to break. Or even deleting files, causing the shortcode to show instead of the functionality from the plugin.
In short, you need to update your WordPress site, and this post will guide you through how to do it safely.
First: Why you should check your website after updates
Some website issues are obvious – they break the whole site, and you need to roll it back. Others can be tricky to notice. Maybe it is a page you do not personally visit frequently, or it’s only noticeable on mobile screens. You don’t even realize something went wrong until a visitor sends you an email and tells you about the error.
This can cost you:
- traffic
- credibility
- potential clients
The good news is – it is entirely avoidable.
Create a backup before an update
In case something on your website breaks and you cannot solve the issue, you can always restore a backup. This is insurance for your website. A useful backup tool for WordPress websites is Updraft Plus.
Clear cache after updates
If you are using Caching Plugins like WP Rocket, Autopimize, W3TC, Super Cache, or others, make sure you clear your cache. Old data in the cache can show conflicting data and break your website, even though it should be working.
Some caching plugins offer to remove the version parameter for CSS and JS files. This can give you better results in page speed checking tools, but your visitors might have old JS files cached and failed to download the new version. My recommendation is to keep the version as a parameter.
Check developer tools
Every standard browser offers tools that can show you errors on JS files. Some errors might not affect the functionality of your website, others can break it.
To open developer tools in Google Chrome, right-click on your website and select “Inspect” (or press CMD+Shift+i). Click on the tab “Console,” and you see all errors, warnings and infos. The errors are important, while warnings and infos can, in most cases, be ignored.
In errors, you will also see which JS file caused the issue. The JS file path should give you an idea of which plugin or theme causing the problem.
Not every error will break something on your site. But it is good to check the functions like contact forms, newsletter signups, and other non-static elements.

Click through your website
After updating your website, it is essential to click through your website to see if everything looks like before the update. Make sure you click through it when you are not logged in as an administrator since caching will be skipped with most caching plugins in that case. Just open a new incognito window and check your website there.
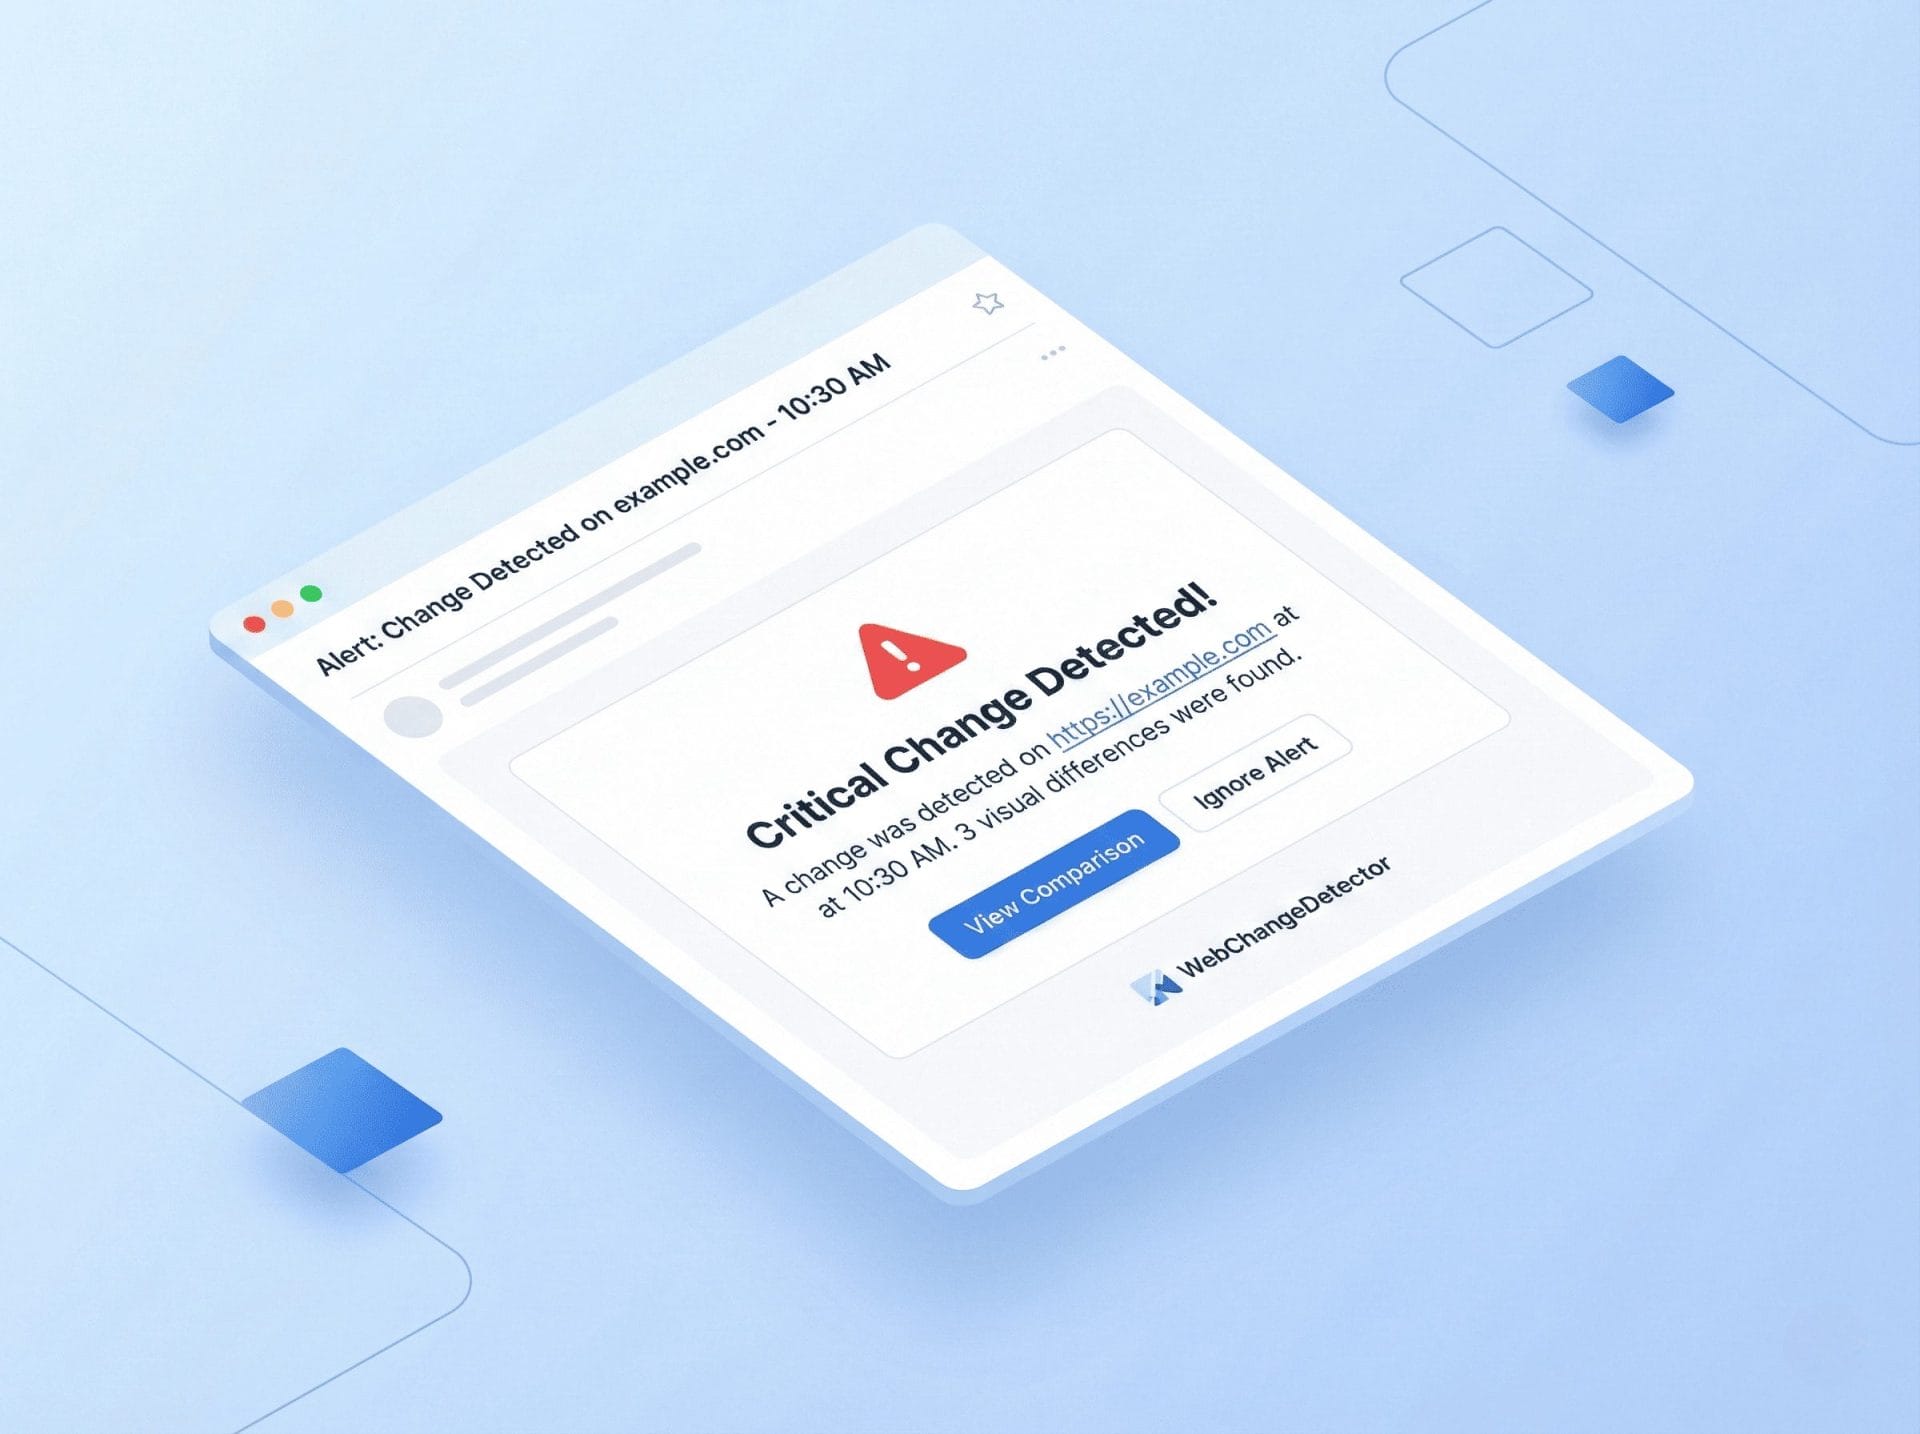
Automated Visual Checks
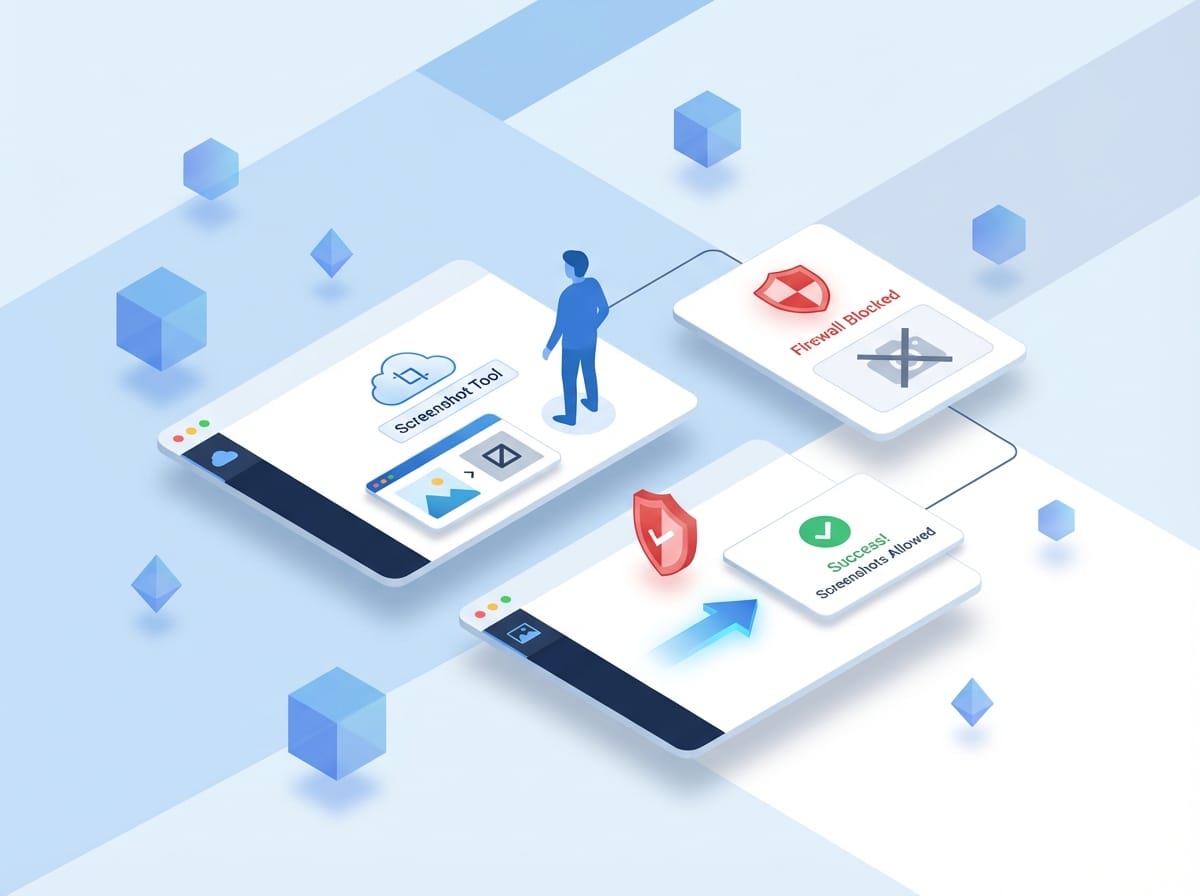
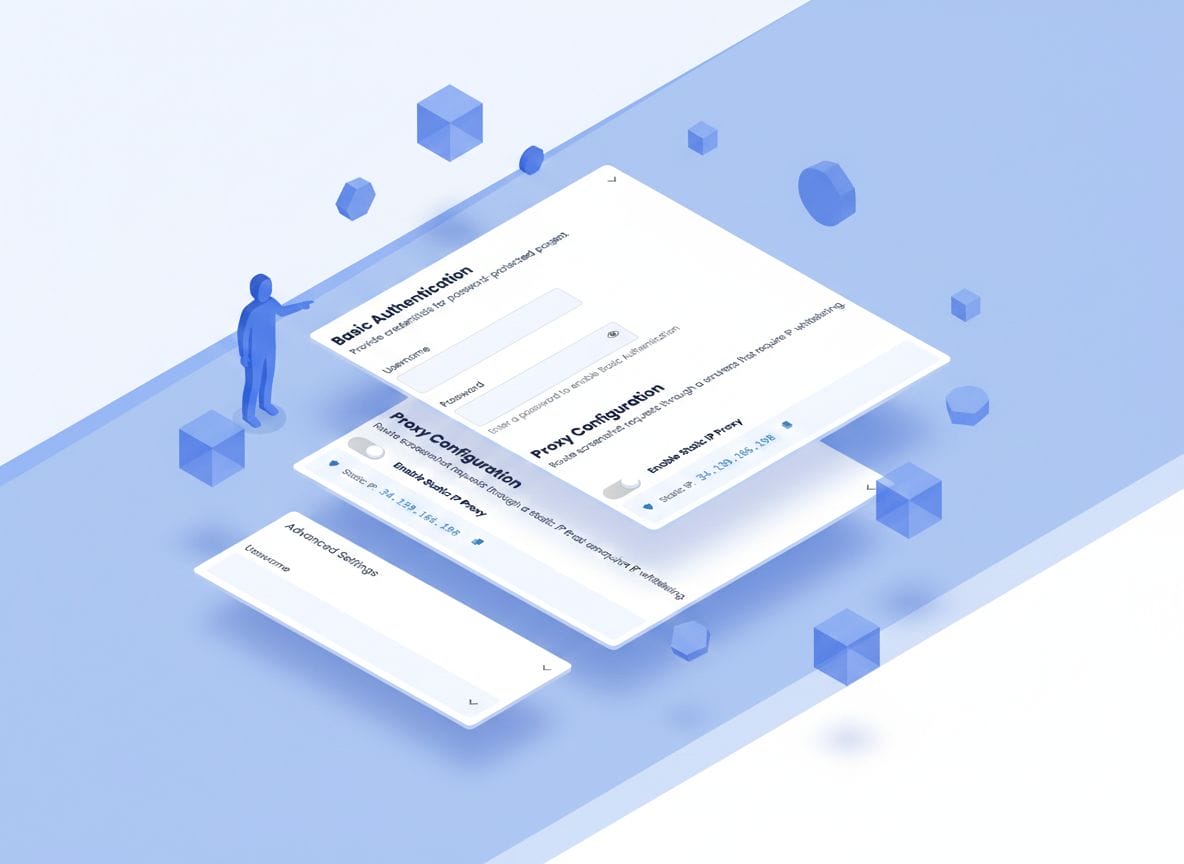
Clicking through all pages manually can be very time consuming, and you might not spot every change. This is why we developed WebChangeDetector.
You can select the pages you want to check, choose desktop, mobile or both screen sizes. Create screenshots for the pages before and after the updates, and we will show you the differences highlighted in a new screenshot.
This makes it easy to identify issues and quickly fix them before your visitors notice.
Use WebChangeDetector for free for one website and up to 50 screenshots per month. This is enough to check 12 pages for desktop and mobile.