This month we rolled out four features that make monitoring more flexible and manual checks way more comfortable. Here’s a quick tour of what’s new and how to set everything up.
Table of Contents
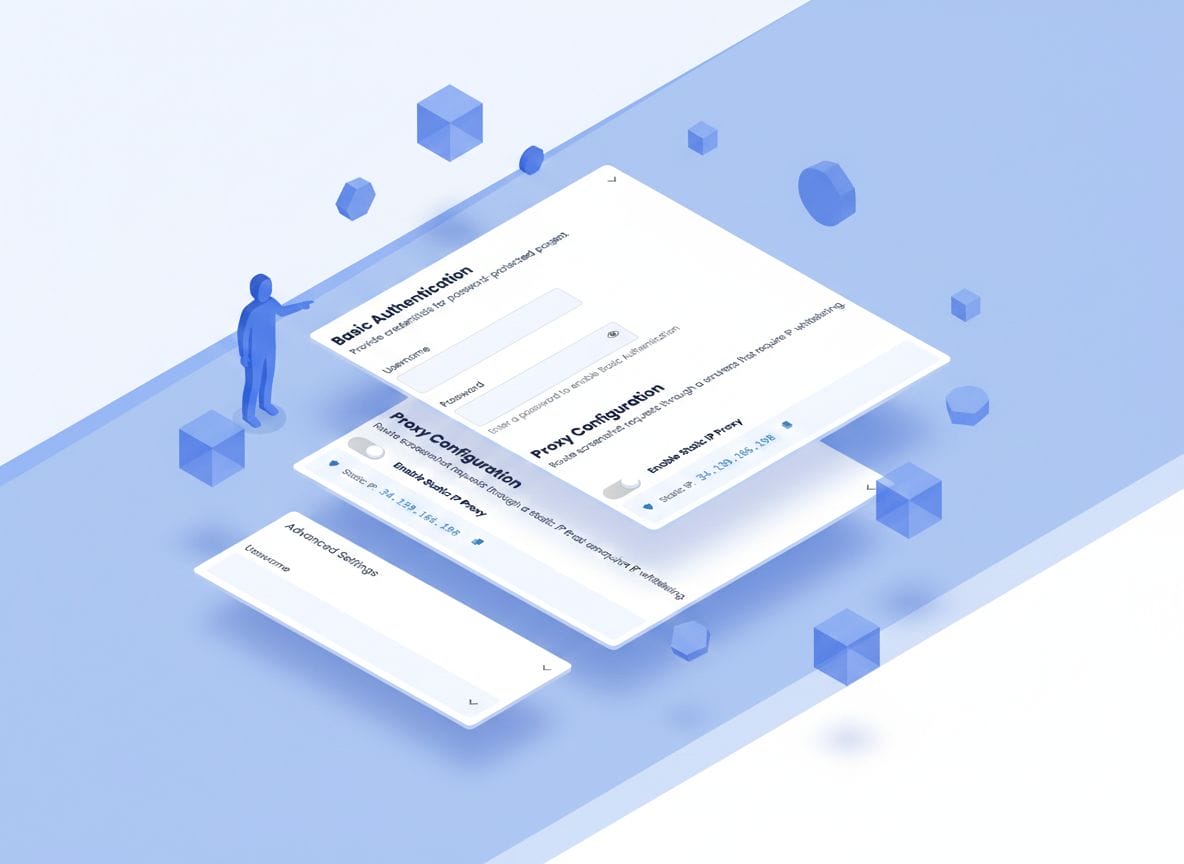
Static IP Proxy
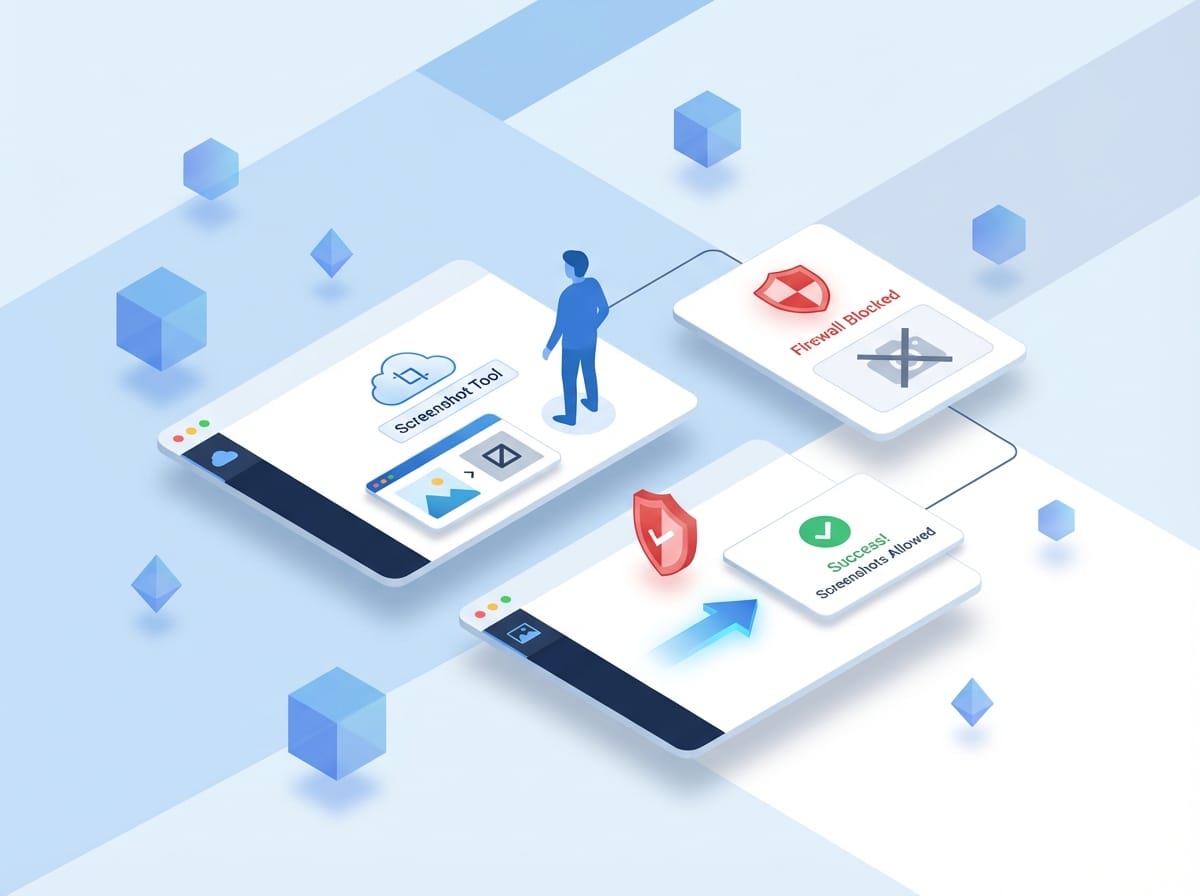
If your website sits behind a firewall that only allows specific IPs, our screenshots couldn’t reach it – until now. You can now route all screenshots through a dedicated static IP: 34.139.186.198.
How to set it up
- Open your Website Settings or Group Settings
- Find the Access & Proxy Settings section
- Enable the Proxy for taking screenshots through the static IP
- Add 34.139.186.198 to your firewall’s allowlist
- That’s it. Screenshots now go through the static IP

This works for both Auto Detection and Manual Checks. Once you set it on a website, all groups under that website inherit the setting automatically.
Basic Auth for Staging Sites
Staging environments are usually password-protected. That used to mean you couldn’t monitor them with WebChange Detector. Now you can add HTTP Basic Auth credentials directly in your settings.
How to set it up
- Go to Website Settings or Group Settings
- Open Advanced settings and to the HTTP Basic Authentication section
- Enter your username and password
- Save
All URLs in that website or group will now authenticate automatically when we take screenshots.

A few things to know:
- Passwords are encrypted at rest and never shown back in the UI
- If you edit the settings later, leave the placeholder password field as it is to keep the existing one or change it to save a new password.
- Basic Auth and the Static IP Proxy work independently. You can use both at the same time.
Monitoring Scheduling Redesign
We redesigned how you schedule your automated monitoring. Before, you could only set an interval in hours. Now you have three schedule types to choose from:
- Interval — Check every X hours (0.25h, 0.5h, 3h, 6h, 12h, 24h)
- Weekday — Run checks on specific days of the week
- Day of Month — Run checks on specific days of the month
How to set it up
- Open your Group Settings
- Enable Monitoring
- Choose your Schedule Type (Interval, Weekday, or Day of Month)
- Configure the details: pick your days, set the hour of day, and optionally define quiet hours where no checks run


This is especially useful if you only need checks on business days, or if your site has predictable update cycles (like a CMS that publishes on the 1st and 15th of each month).
Improved Manual Checks Flow
The manual check process got a complete overhaul. Instead of the old two-step flow, you now get a guided 4-step wizard with live progress updates and results that appear as they come in.
The 4 Steps
Step 1: Select which groups and devices (Desktop, Mobile) you want to check.

Step 2: Screenshots are taken of your current site. You see a live progress bar and real-time status counts (Processing, Queued, Finished, Failed) as screenshots complete.

Step 3: This is where you go and update your website or do other changes. The wizard waits for you. Need to step away? No problem — you can close the browser and come back later. Your progress is saved automatically.

Step 4: After you click “Start Checks”, the post-update screenshots start. Here’s the best part: comparison results appear live in the same view as they finish. No need to navigate away or refresh. You watch results roll in one by one and open them in a pop-up to check the details.

Resume Logic
Life happens. If you cancel the Manual Checks, your wizard state is saved in the background. When you are back in the settings, you’ll find a resume button and can pick up right where you left off.

All Available Now
These four features are live and ready to use. Log in and try them out, and if you have ideas for what we should build next, we’d love to hear from you.